We are involved in various occasions to use images to upload or edit, but often appear because the image is too large cannot be uploaded, this time you need to compress the image. In this article, we will share with you 2 image compression methods, not only can quickly compress images, but also maximize the picture quality to maintain clarity.
Method 1: Compress Images Using Photos
Windows has a built-in photo application that allows you to compress images. This method is very simple, but since it can only handle one image at a time, it is only suitable for users who do not have a great need for compressed images.
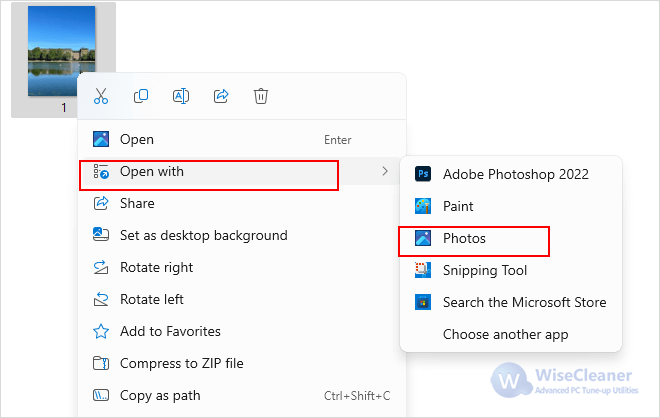
1. Find the image you want to compress then right-click and select Open with > Photos.
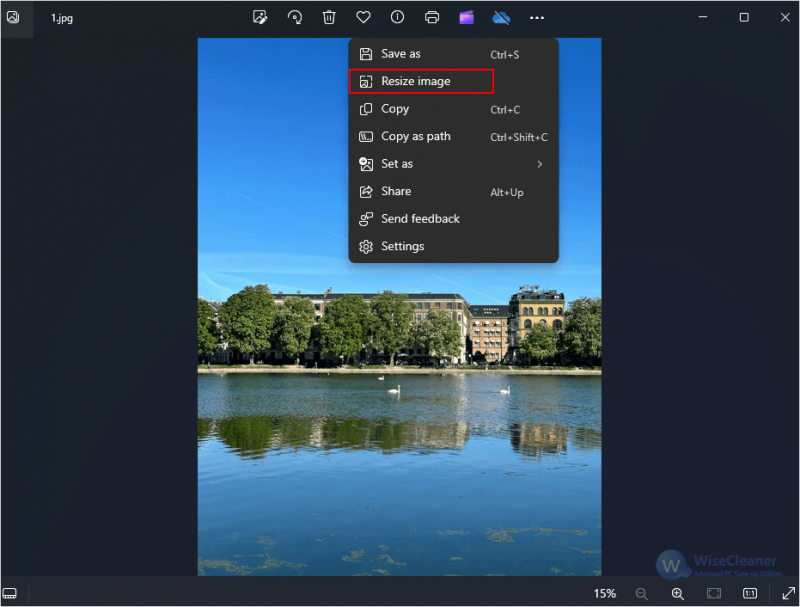
2. Click ⋯ on the top toolbar and select Resize image from the drop-down menu.
3. Drag the Quality percentage bar to select the appropriate percentage number to compress the image.
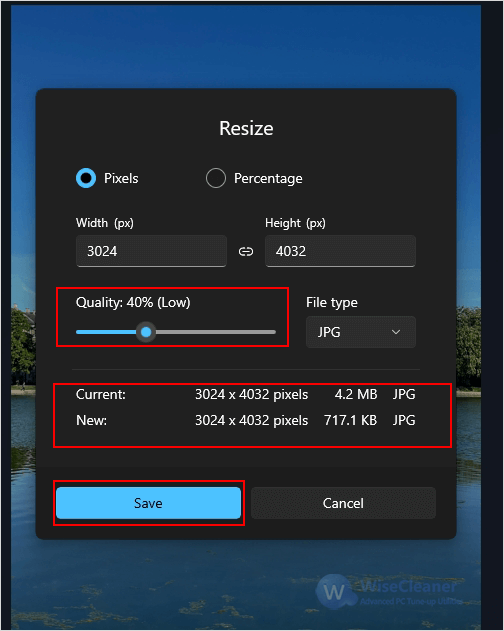
4. Click Save and then choose where to save it.
Method 2: Compress Images Using Wise ImageX
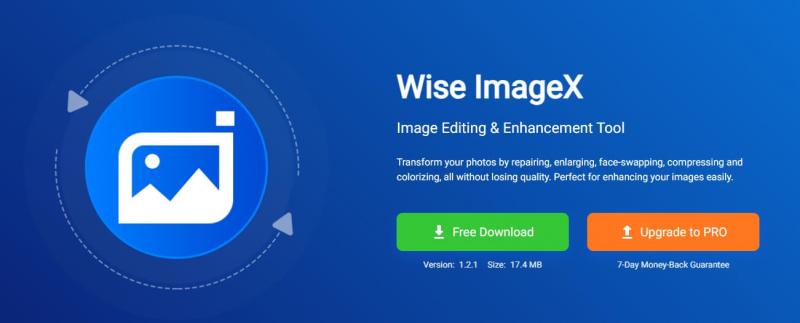
Wise ImageX is an image editing and enhancement tool that helps users to repair, enlarge, face swap, compress, colorize, and a host of other operations on images. The compression feature of this tool supports compression of up to 80% of images in many formats without changing the quality. Unlike Photos, it supports batch operations, so whether you need to process multiple images or a single image, it can help.
Step 1. Download Wise ImageX
First of all you can download Wise ImageX by clicking here. Install the app on your device to start compress images.
Step 2. Upload the image to be compressed
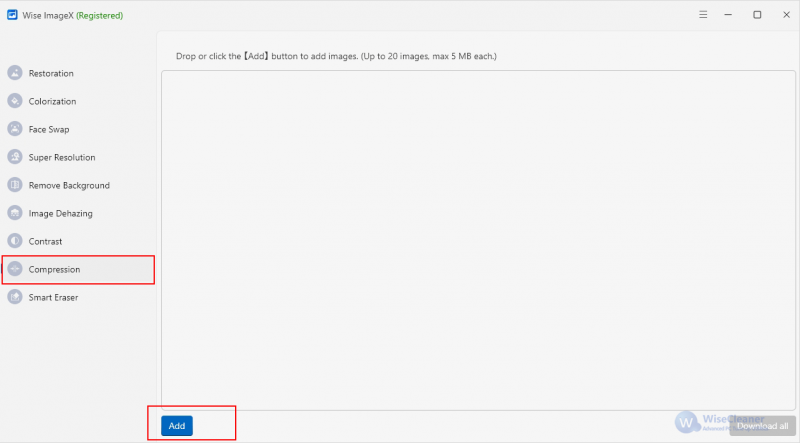
Run Wise ImageX, select Compression in the left menu bar and then drop or click the Add button to add images. Note that you can upload up to 20 images at a time, with a maximum of 5MB per image.
Step 3: Compress images
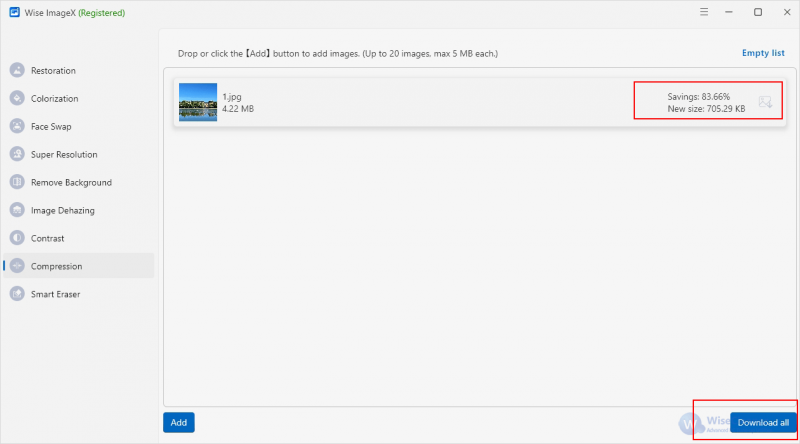
After uploading and waiting for a few moments you will get the compressed image. You can see the size of the compressed image and the percentage saved. Finally click on Download all and select the location where you want to save the image.
Conclusion
These are the two methods of compressing images shared in this article, and hope that all the problems you encountered after reading this article can be solved perfectly. Although there are a lot of online tools and software that can help you compress images, we still highly recommend you to use Wise ImageX, because it is a professional photo editor with many functions in one.