Windows registry is a critical component of the operating system, storing configuration settings and options for both the OS and installed apps as a database. Over time, as the use of installed software, the registry becomes cluttered and needs to be cleaned regularly to maintain good system performance.
How do you clean the Windows registry for all users if you have multiple user accounts on a single computer? You may find it time consuming to clean the registry for all users thoroughly, because typically you will need to log in to different accounts to clean the registry entries individually.
Not commonly found in other similar tools, Wise Registry Cleaner Pro offers a solution to this with its unique ability to clean the registry for all users in one go even under a standard account.
How to clean registry for all users via Wise Registry Cleaner
Wise Registry Cleaner is a software tool designed to clean the registry on the Windows computer. Here is how to use it to clean the registry for all users straightforwardly:
Step 1. Active and launch
If you have not had Wise Registry Cleaner on your computer, download and update to pro from the official website. Then follow the on-screen prompt to finish the installation process. After installing, launch the software. You will be asked to enter the admin password if your are under a standard account.

Step 2. Enable All users
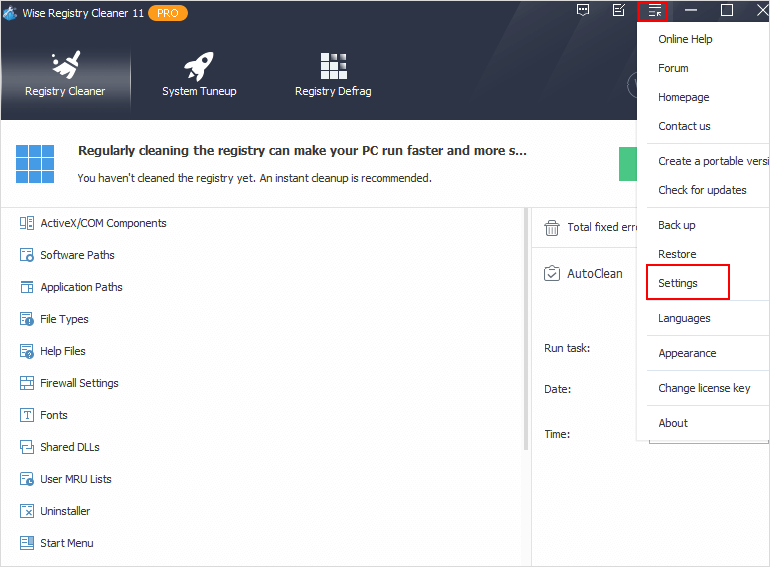
Open the Settings window by clicking the Menu button on the top-right corner, and select Settings from the drop-down menu.
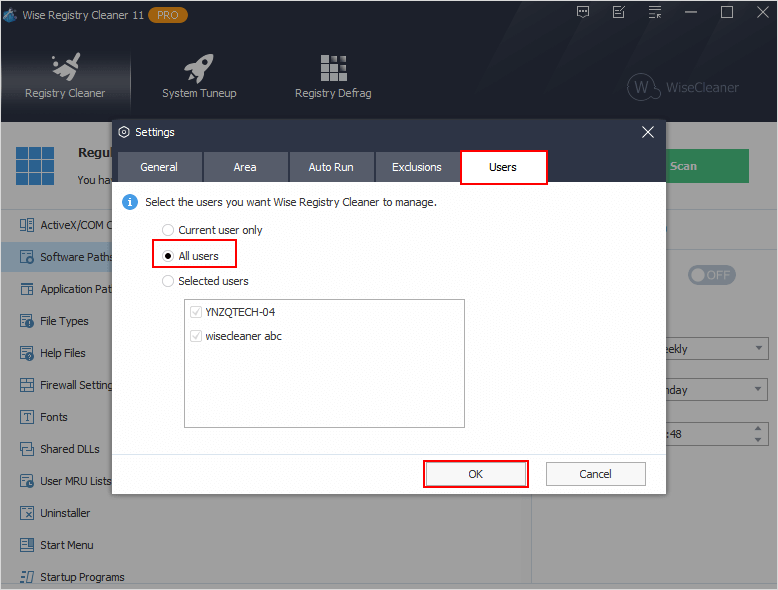
Switch to the last Users tab. Here you can see All users option. Check it, and click on OK to make changes take effect.
Step 3. Run the Scan
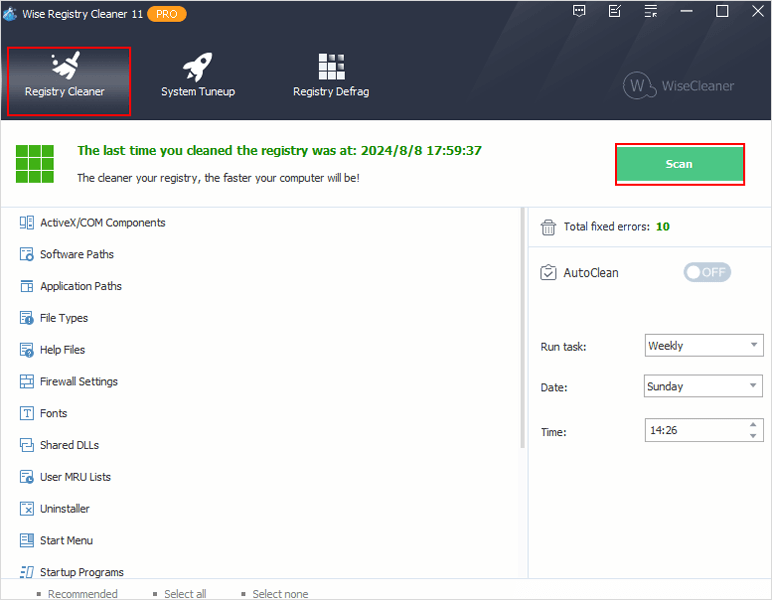
Go back to the main interface in the Registry Cleaner section. Click on the Scan button to let the software scan the registry entries for all user accounts.
Step 4. Review and clean
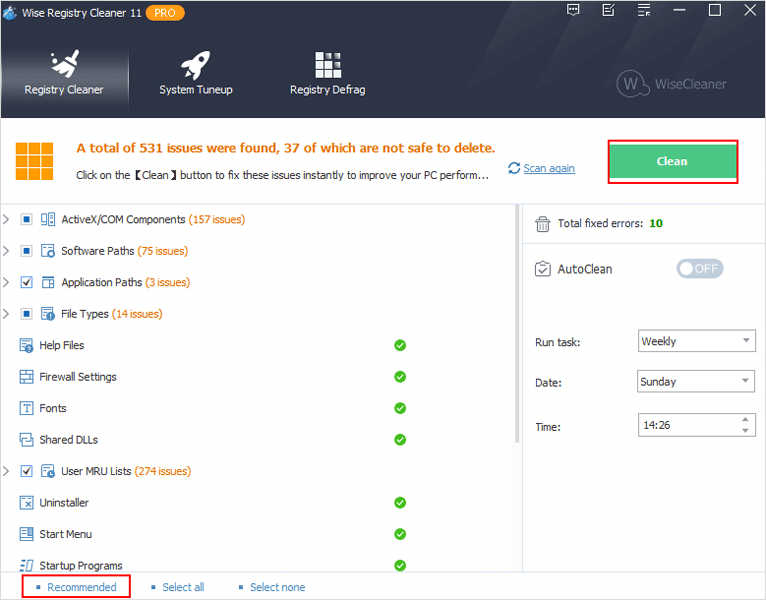
Wait for a while until the scan is complete, review the issues listed carefully and select the ones which you want to clean.
If you are not sure about which ones to clean, you could select the Recommended button at the bottom of the software. This only cleans those registry entries which are safe to delete. Wise Registry Cleaner even allows you to create a system restore point and back up the full registry automatically before cleaning.
After selecting, click on the Clean button.
Conclusion
Wise Registry Cleaner Pro’s ability to clean the registry for all user accounts simultaneously is a significant move in Windows system optimization tools. By following the steps in this tutorial, you can save time and ensure consistent performance across all user accounts in managing the registry.