WiseCleaner Think Tank
Encounter difficult computer problems?
All about maintenance and optimization of your Windows System.
Feb 25, 2025
Windows updates are essential for maintaining system security, performance, and stability. However, some users may encounter an issue where the Windows Update tab is missing from the Settings app in Windows 11. This can prevent you from checking for updates, installing security patches, and accessing update-related settings. This guide will walk you through recovering the lost Windows Update tab in Windows 11.
The Windows Update Service is responsible for fetching and installing updates on your system. If it’s disabled or malfunctioning, the Windows Update tab might disappear. Resetting the service can help fix the issue.
Press Win + S, type cmd, and click Run as administrator.
In the Command Prompt, type the following commands one by one and press Enter after each:
net stop wuauservnet stop cryptSvcnet stop bitsnet stop msiserverren C:WindowsSoftwareDistribution SoftwareDistribution.old ren C:WindowsSystem32catroot2 Catroot2.oldnet start wuauservnet start cryptSvcnet start bitsnet start msiserver
The Local Group Policy Editor allows administrators to control which pages are visible in the Settings app. If the Windows Update tab is missing, it could be due to a restriction set here.
Press Win + R, type gpedit.msc, and hit Enter.
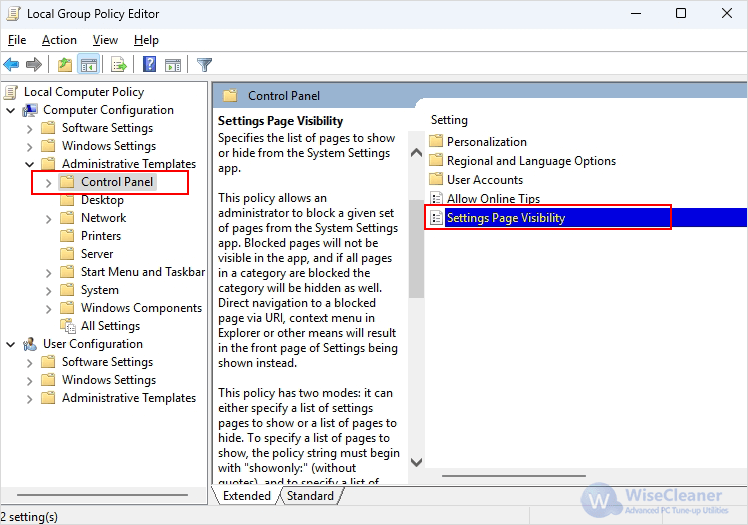
Double-click Settings Page Visibility on the right panel and set it to Disabled.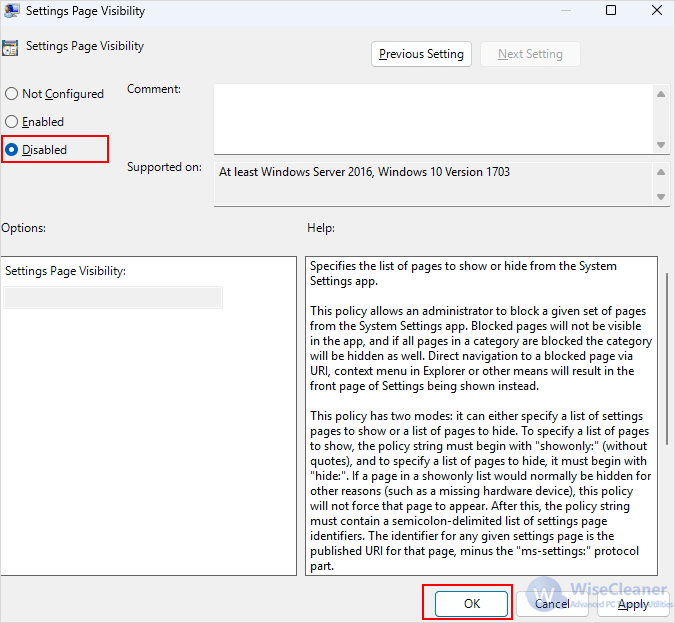
Another way to control visibility is through the Show Only Specified Control Panel Items policy. If this setting is enabled, it might restrict access to the Windows Update settings.
Press Win + R, type gpedit.msc, and hit Enter.
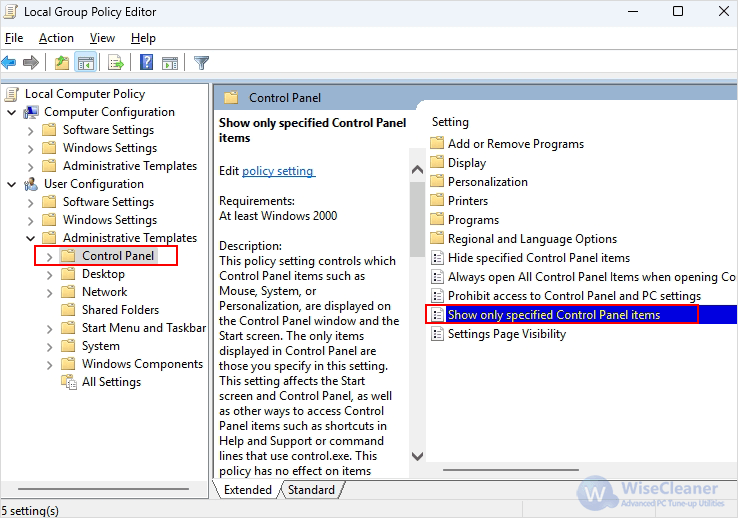
On the right side, locate Show only specified Control Panel items, set it to Disabled.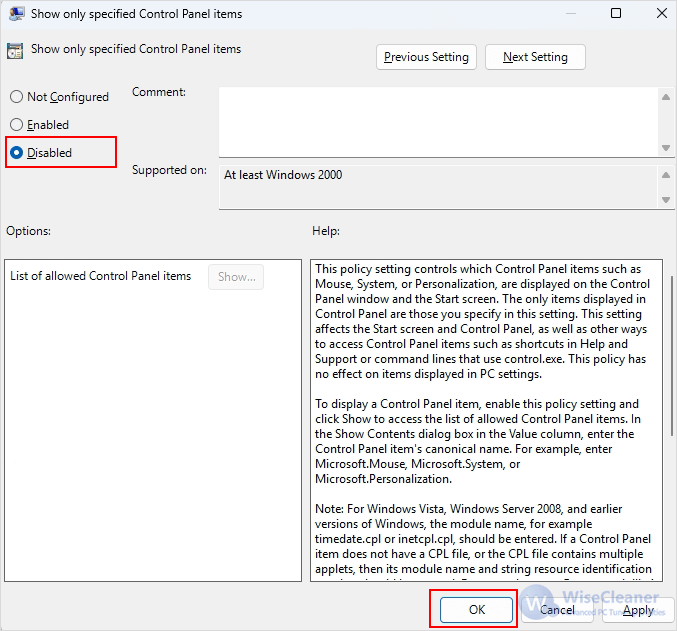
Click OK, close Group Policy Editor, and restart your PC.
By following these steps, you can regain access to the Windows Update tab and ensure your system stays up to date. If the issue persists, consider running the Windows Troubleshooter or performing a System Restore to revert to a previous working state.