WiseCleaner Think Tank
Encounter difficult computer problems?
All about maintenance and optimization of your Windows System.
Jul 5, 2024
If you find the blink rate of your cursor too fast on your Windows 11, you may sometimes feel distracted. Fortunately you can customize the default value set by Windows system to adjust the rate to better fit your habits and protect your eyes. This WiseCleaner post shows how to change your cursor blink rate through Keyboard Properties.
Keyboard Properties in Windows 11offers some options to configure keyboard settings, including repeat delay and rate, and the cursor blink rate as well.
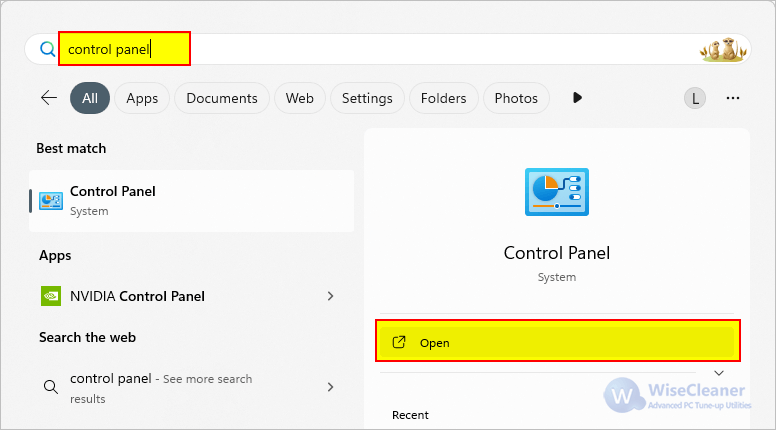
The quickest way to open the control panel is to press Win + s to open the Search box, enter control panel, and then click the Open option. Learn more about opening the Control Panel.
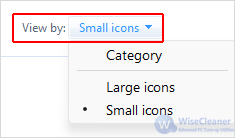
On the Control Panel window that opens, switch the View by drop-down menu in the top-right corner to either Large icons or Small icons.
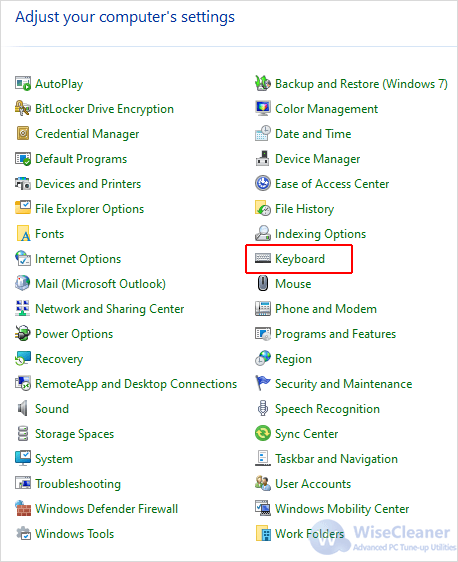
Click the Keyboard option to open its properties.
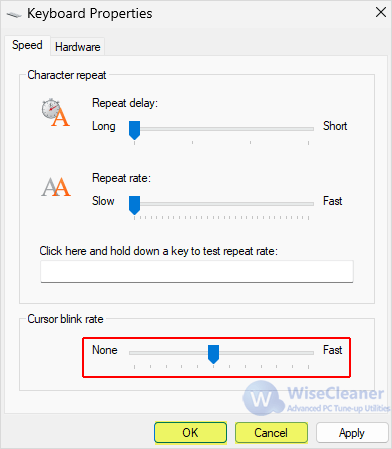
On the Keyboard Properties window, you will see a slider under Cursor blink rate. Move the slider left and right and preview the cursor blink rate until you find your desired speed. After that, click on Apply and then OK to save the changes.
The cursor blink rate is a small yet significant feature which will impact your typing experience. By following the steps in this WiseCleaner Think Tank guide, you can adjust the cursor blink rate to match your preference.