WiseCleaner Think Tank
Encounter difficult computer problems?
All about maintenance and optimization of your Windows System.
Jun 24, 2024
When use the computer, you may sometimes encounter a variety of issues related to the display driver which can reduce your graphics performance and display resolution quality. That’s why here we introduce three methods on how to fix common issues related to your display driver on Windows 11.
By updating your display driver, you can keep your display adapter running smoothly with the latest driver.
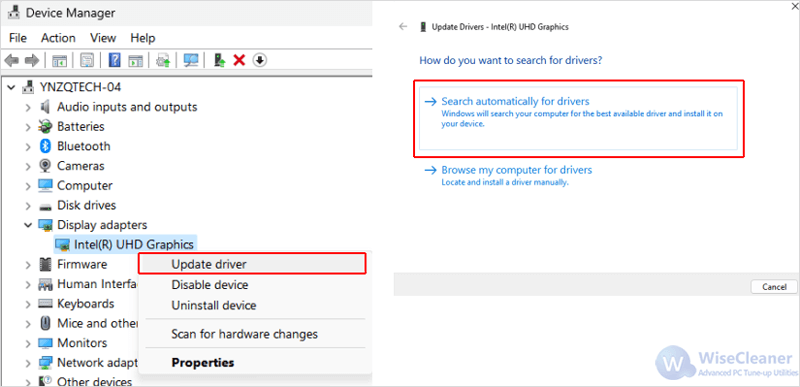
Find and expand the Display adapters option from the list by clicking the arrow icon next to it.
Right-click on your display adapter driver and click Update driver. Then select Search automatically for drivers on the pop-up window to let Windows search for and install the latest driver automatically if available.
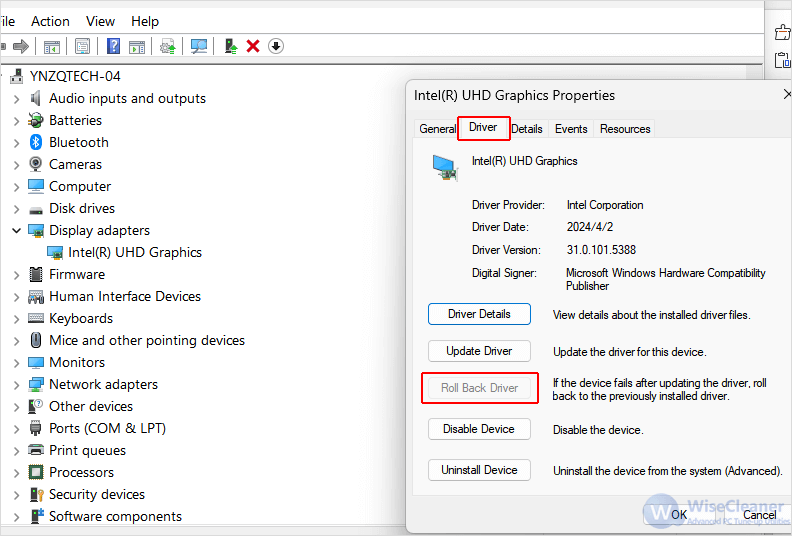
The Roll Back Driver feature allows to take you back to the previous version of the installed display driver, which can be very useful if you have updated the driver and find that it is causing some problems.
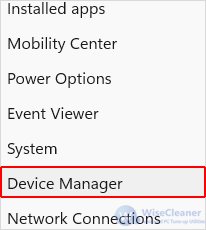
Open your Windows 11 Power User Menu and click Device Manager.
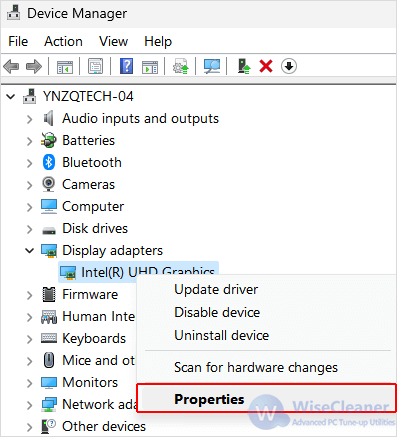
Find and expand the Display adapters option from the list by clicking the arrow next to it.
Right-click on your display adapter driver and click Properties.
Switch to the Driver tab, and click on the Roll Back Driver option if it is available.
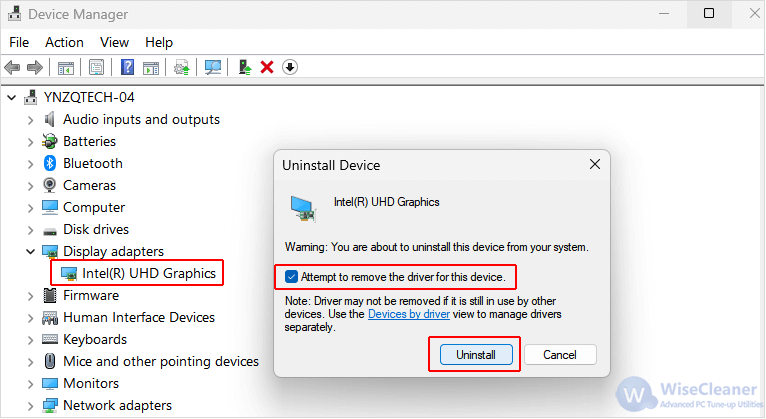
If you are encountering severe display driver issues, or neither updating nor rolling back the drive could solve the problems, you might want to consider reinstalling the driver from the Safe Mode.
You can access to the Safe Mode on your Windows 11 from the Start.
After that, make sure the network is connected, and then restart your computer. Normally, restarting the computer can prompt Windows to recognize the missing driver and attempt to reinstall a basic version for you.
Additionally, if the basic display driver version installed by the operating system does not work with yours, simply go to the official website of your display adapter as follow to download the latest driver directly. After downloading, install the drive manually.
By following the steps in this WiseCleaner tutorial, you should be able to successfully resolve most graphics-related issues you were encountering on your Windows 11.
